
#
EJB Client (Stateful)

This tutorial explains ou how to code a Java EJB Client for a stateful EJB 3 deployed on Weblogic 12c.
This article is using:
- Eclipse Java EE IDE for Web Developers, Version: Neon.3 Release (4.6.3)
- Java 8
The Enterprise Java Bean is deployed on the Oracle WebLogic 12c.
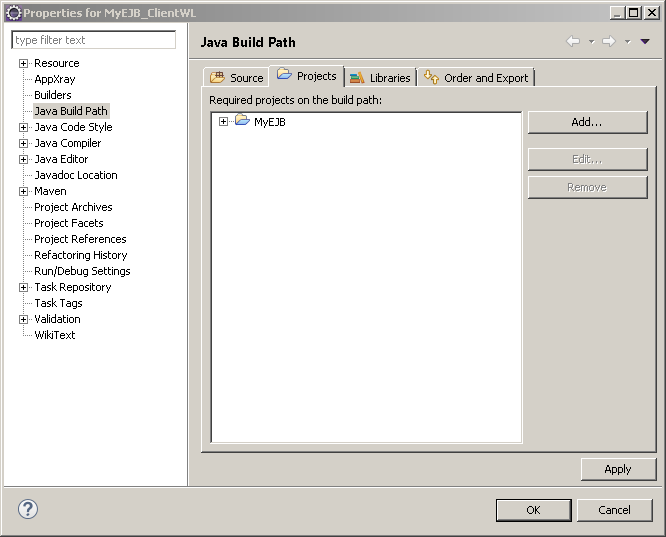
You have to add to your new Java Project the MyEJB project to the build path:
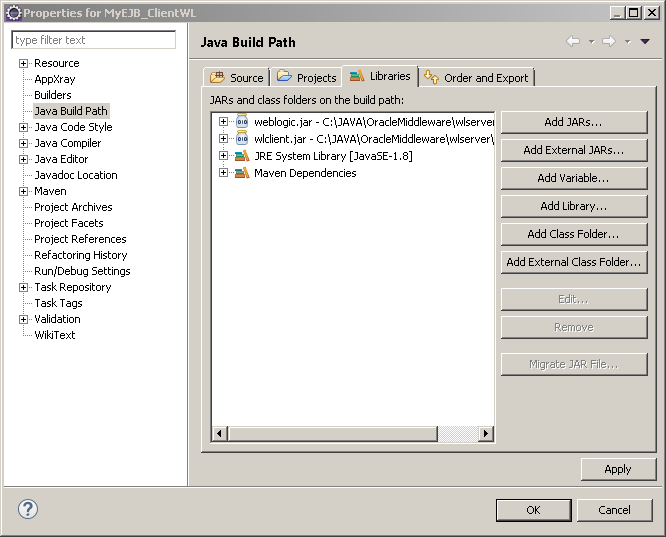
You have to add to your new Java Project the weblogic.jar and wlclient.jar (are in the WebLogic download package):
Now it time for coding. Here is the class I added to the project:
import java.util.Hashtable;

import javax.naming.Context;
import javax.naming.InitialContext;

public class RunTest {

    public static void main(String[] args)throws Exception {

        System.out.println("Start EJB3 Client for connecting to Weblogic");

           final Hashtable jndiProperties = new Hashtable();

           jndiProperties.put(Context.INITIAL_CONTEXT_FACTORY, "weblogic.jndi.WLInitialContextFactory");
           jndiProperties.put(Context.PROVIDER_URL,"t3://localhost:7001");

           Context ctx = new InitialContext(jndiProperties);
           System.out.println("Initial Context created");

           AddIntegersRemoteInterface addIntegers =
                   (AddIntegersRemoteInterface) ctx.lookup("AddIntegers#AddIntegersRemoteInterface");

           System.out.println("lookup successful");

           //Remote EJB function calls
           addIntegers.addValue(1);
           addIntegers.addValue(1);

           System.out.println(addIntegers.returnSum());

           System.out.println("EJB3 Client : END");
    }
}
I run the project as "Java Application" 2 times and here is the result of the last run:
