
#
Java 17 installation on Windows 10

#
Download Java 17 (openjdk)
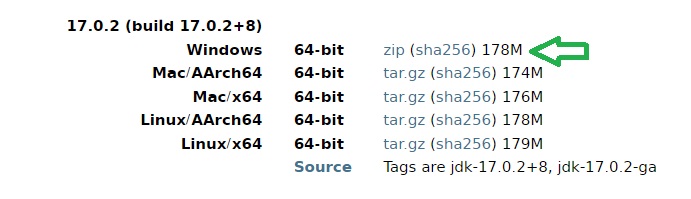
The first thing when we want to install Java on a Windows machine is to download the software from Archived OpenJDK General-Availability Releases.
You need to download the file for your OS and CPU architecture. In my case I choose Windows:
#
Unzip the downloaded file
The next step is to unzip the downloaded file. In my case this is openjdk-17.0.2_windows-x64_bin.zip.
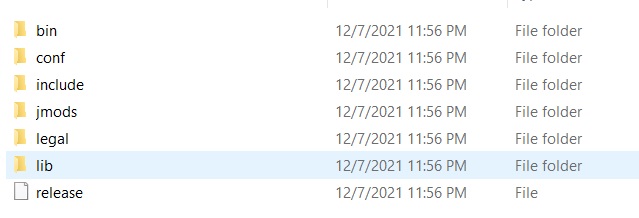
The result is the openjdk-17.0.2_windows-x64_bin folder which keep inside jdk-17.0.2 folder.
Here is the content of jdk-17.0.2 folder:
#
Copy the Java binaries on the location of your choice
Copy jdk-17.0.2 folder with or without openjdk-17.0.2_windows-x64_bin folder on the place of your choice
and set the JAVA_HOME and PATH environment variable. In my case I put openjdk-17.0.2_windows-x64_bin under D:\.
set JAVA_HOME=D:\openjdk-17.0.2_windows-x64_bin\jdk-17.0.2
set PATH=%JAVA_HOME%/bin;%PATH%
Using this approach, JAVA_HOME and PATH are set temporary. For a persistent approach, use System Variables from Environment Variables window.
At this time you could consider Java is installed on your machine.
#
Verify Java installation
Verify Java installation using java --version command:
java --version

openjdk 17.0.2 2022-01-18
OpenJDK Runtime Environment (build 17.0.2+8-86)
OpenJDK 64-Bit Server VM (build 17.0.2+8-86, mixed mode, sharing)
For uninstalling Java from a Windows machine you need to remove the Java JDK directory and to update again PATH and remove/update JAVA_HOME.
Here are some related articles: